
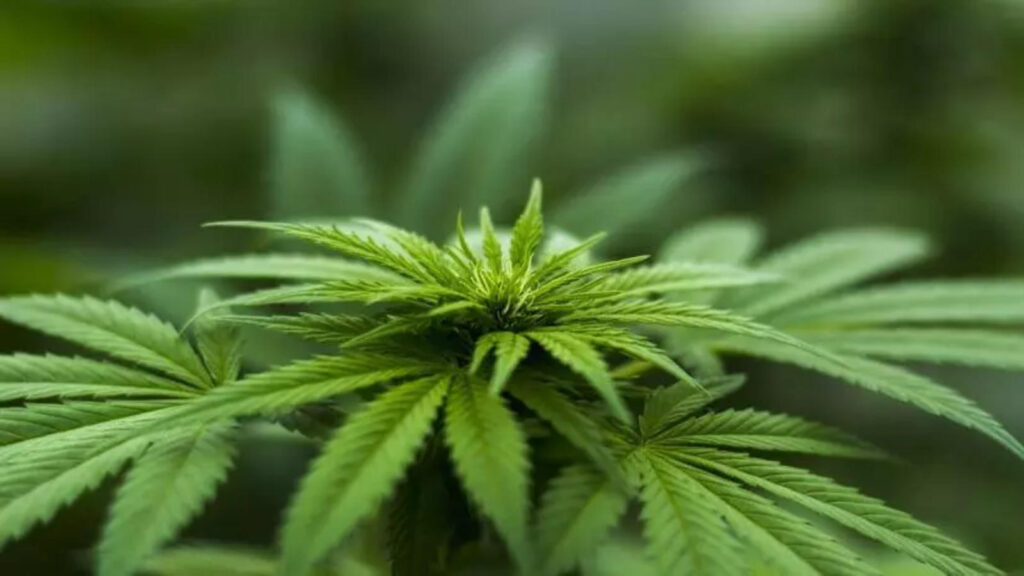
Cannabis cultivation can seem daunting at first, but with the right knowledge and tools, it can be a rewarding and enjoyable experience. Whether you’re interested in growing cannabis for personal use or as a hobby, this beginner’s guide will help you understand the essential steps to successfully cultivate cannabis. From choosing the right seeds to harvesting your plants, we’ll walk you through everything you need to know.
Why Grow Cannabis?
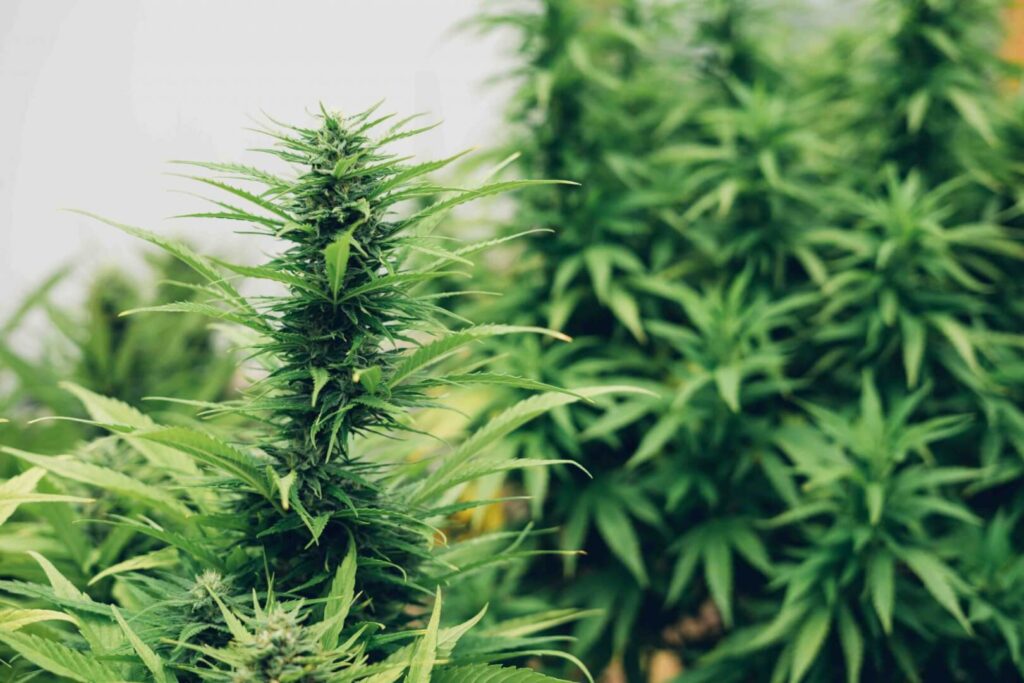
Growing your own cannabis offers several benefits, including:
- Control over Quality: When you grow your cannabis, you control the quality, ensuring no harmful chemicals or pesticides are used.
- Cost Savings: Cultivating your own cannabis can be more cost-effective than buying from dispensaries, especially if you grow multiple plants.
- Personal Satisfaction: There’s immense satisfaction in nurturing your plants from seed to harvest, and the process can be a fulfilling hobby.
Before you start, it’s important to understand the basics of cannabis cultivation and what you need to get started.
Step 1: Choose the Right Cannabis Seeds
The first step in growing cannabis is selecting the right seeds. There are three primary types of cannabis seeds: feminized, autoflowering, and regular. Understanding each type will help you make the best choice for your growing situation.
- Feminized Seeds: These seeds are guaranteed to produce female plants, which are the ones that yield the flowers you’re looking for. Feminized seeds are the most popular for beginners because they eliminate the risk of male plants, which don’t produce usable buds.
- Autoflowering Seeds: These seeds are great for beginners because they require less attention. Autoflowering plants automatically switch from the vegetative stage to the flowering stage based on their age, not the light cycle. This makes them ideal for those new to cannabis cultivation.
- Regular Seeds: These seeds can produce both male and female plants. Growing from regular seeds requires extra attention to identify and remove the male plants before they pollinate the females.
Step 2: Prepare Your Grow Space
Cannabis plants need the right environment to thrive, whether you’re growing indoors or outdoors. Let’s take a look at both options:
Indoor Growing
Indoor growing gives you full control over the environment, such as temperature, humidity, and light. Here’s what you’ll need:
- Grow Tent: A grow tent provides a controlled environment for your plants and prevents light leaks. It also helps with temperature and humidity control.
- Lighting: Since cannabis needs a lot of light to grow, you’ll need to invest in high-quality grow lights. LED lights and HPS (High Pressure Sodium) lights are the most popular choices for cannabis cultivation.
- Ventilation: Proper ventilation is crucial for maintaining airflow and humidity levels. An exhaust fan and carbon filter will help control odor and air quality.
- Grow Medium: Cannabis can be grown in soil, coco coir, or hydroponic systems. Beginners often start with soil, as it’s easier to manage and less technical.
Outdoor Growing
Outdoor growing is a more natural approach, where your plants are exposed to sunlight. However, you have less control over environmental factors like temperature and humidity.
- Location: Choose a spot with good sunlight (at least 6-8 hours of direct sunlight per day).
- Soil: The quality of the soil is crucial. Cannabis prefers loamy, well-drained soil rich in organic matter.
- Protection: Outdoor plants can be vulnerable to pests, animals, and weather conditions. Use protective barriers or mesh fencing to keep your plants safe.
Step 3: Germinate Your Seeds
Germination is the process of sprouting seeds and getting them ready to grow. Here’s how to germinate your cannabis seeds:
- Soak the Seeds: Place your cannabis seeds in a glass of water for 24-48 hours. This softens the outer shell and encourages sprouting.
- Use the Paper Towel Method: After soaking, place the seeds between two moist paper towels on a plate. Keep them in a warm, dark place. In a few days, the seeds should sprout, and you’ll see a tiny root emerging.
Step 4: Transplant Your Seedlings
Once your seeds have germinated and you see small roots, it’s time to transplant them into their growing medium. Here are the basic steps:
- Prepare the Grow Medium: Fill a small container with soil or other growing medium. Make sure the container has drainage holes to prevent waterlogging.
- Plant the Seedling: Gently place the seedling in the growing medium, burying it about 1-2 inches deep. Be careful not to damage the fragile roots.
- Watering: Water the seedling lightly, ensuring the soil remains moist but not soaked. Over-watering can drown the roots and stunt growth.
Step 5: Vegetative Stage
The vegetative stage is where your cannabis plants grow and develop their structure. During this time, the plant focuses on growing leaves, stems, and roots. Here are some tips for this phase:
- Lighting: Cannabis needs a lot of light during the vegetative stage. Aim for 18 hours of light and 6 hours of darkness per day.
- Nutrients: During this phase, your plants need nitrogen to support leaf growth. Use a high-nitrogen fertilizer to encourage healthy growth.
- Pruning: Prune the lower branches and leaves to encourage better airflow and focus the plant’s energy on the top growth. Topping the plant (cutting the top off) can also help create a bushier plant.
Step 6: Flowering Stage
The flowering stage is when your cannabis plants begin to produce buds. This is the most exciting phase of cultivation. Here’s how to manage the flowering phase:
- Lighting: Reduce the light schedule to 12 hours of light and 12 hours of darkness per day. This signals to the plant that it’s time to start flowering.
- Nutrients: Switch to a fertilizer that is higher in phosphorus and potassium to support the development of flowers and buds.
- Temperature and Humidity: Keep the temperature between 65-80°F (18-27°C) and humidity around 40-50%. Higher humidity can lead to mold, while lower humidity may result in dry buds.
Step 7: Harvesting
Harvesting your cannabis at the right time is crucial to getting the best quality buds. Here’s how to tell when your cannabis is ready for harvest:
- Trichome Color: Look at the trichomes (tiny resin glands) under a magnifying glass. When they are milky white, it’s time to harvest. Some growers wait until the trichomes turn amber for a more sedative effect.
- Pistil Color: The pistils (hairs on the buds) will change from white to orange or brown when the plant is ready for harvest.
Once your plants are ready, cut the branches, hang them upside down to dry, and trim away excess leaves.
Read Also : Rare and Uncommon Cannabis Strains You Should Know About
Conclusion
Growing cannabis from seeds is a fun and rewarding process, but it does require patience, knowledge, and the right conditions. By following the steps outlined in this guide, you can cultivate healthy, high-quality cannabis plants. Whether you’re growing for personal use or as a hobby, the process of nurturing your plants and seeing them bloom can be incredibly satisfying.
Remember to start with the right seeds, create an optimal growing environment, and be patient as your plants grow and flower. Over time, you’ll gain experience and become a skilled cannabis grower, capable of producing your own homegrown buds!